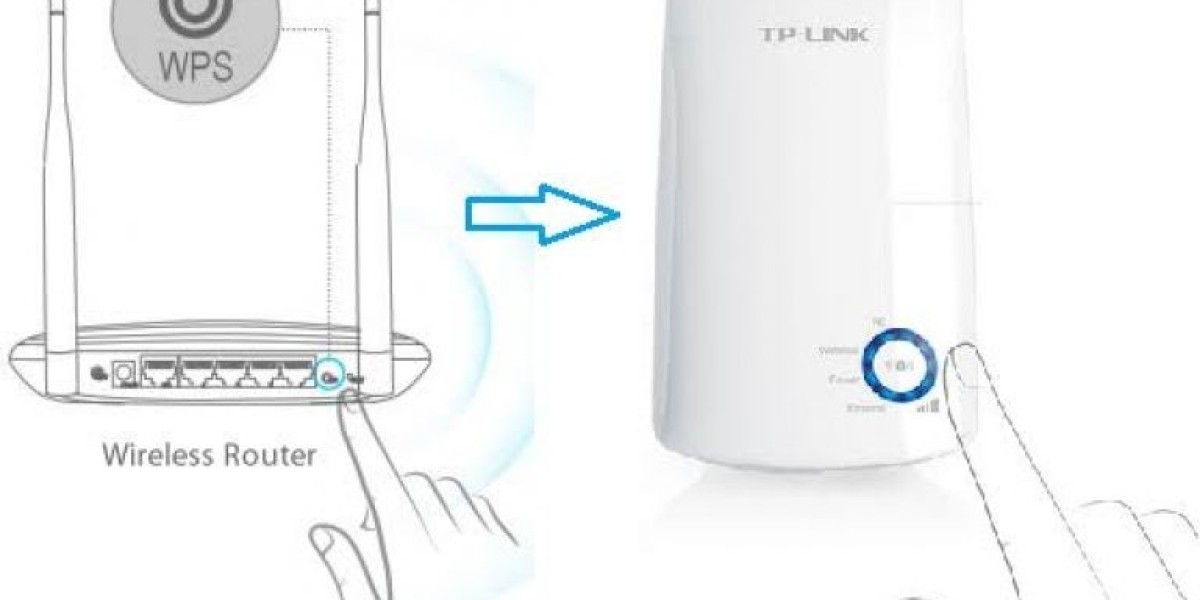
Setting up a TP-Link WiFi range extender is a very easy and straightforward process that can eliminate dead zones and enhance the overall wireless coverage in your house or office. First of all, for the tp-link extender setup, the extender should be plugged into a power socket near the main router and the installer should wait for the power LED to turn solid.
The next step is to connect the smartphone or the computer to the WiFi network of the extender that is set by default. A web browser should be opened and tplinkrepeater net login typed in the address bar so as to open the setup interface. If the web address does not open, then the IP address can be used instead. When the login page shows up, type in the default username and password, normally “admin.” After gaining access, click on the existing WiFi network from the menu, type the router’s password, and go on with the on-screen directions. Your extender will then replicate your router's settings and produce a new network, most of the time with a similar name.
After you configure the device, disconnect the extender and place it at a point that is halfway between your router and the location where the signal is weak. Be sure the signal LED indicates a good connection. When the tp-link extender setup is completed, it means faster speeds, better connectivity, and the streaming or browsing will be smooth. In case you have trouble opening tplinkrepeater net, check that your device is connected, clear the browser cache, or perform a factory reset on the extender and do the steps again. If the placement and the setup are done properly, then a TP-Link extender will greatly enhance the WiFi performance and the network stability and at the same time will not need any technical skill.